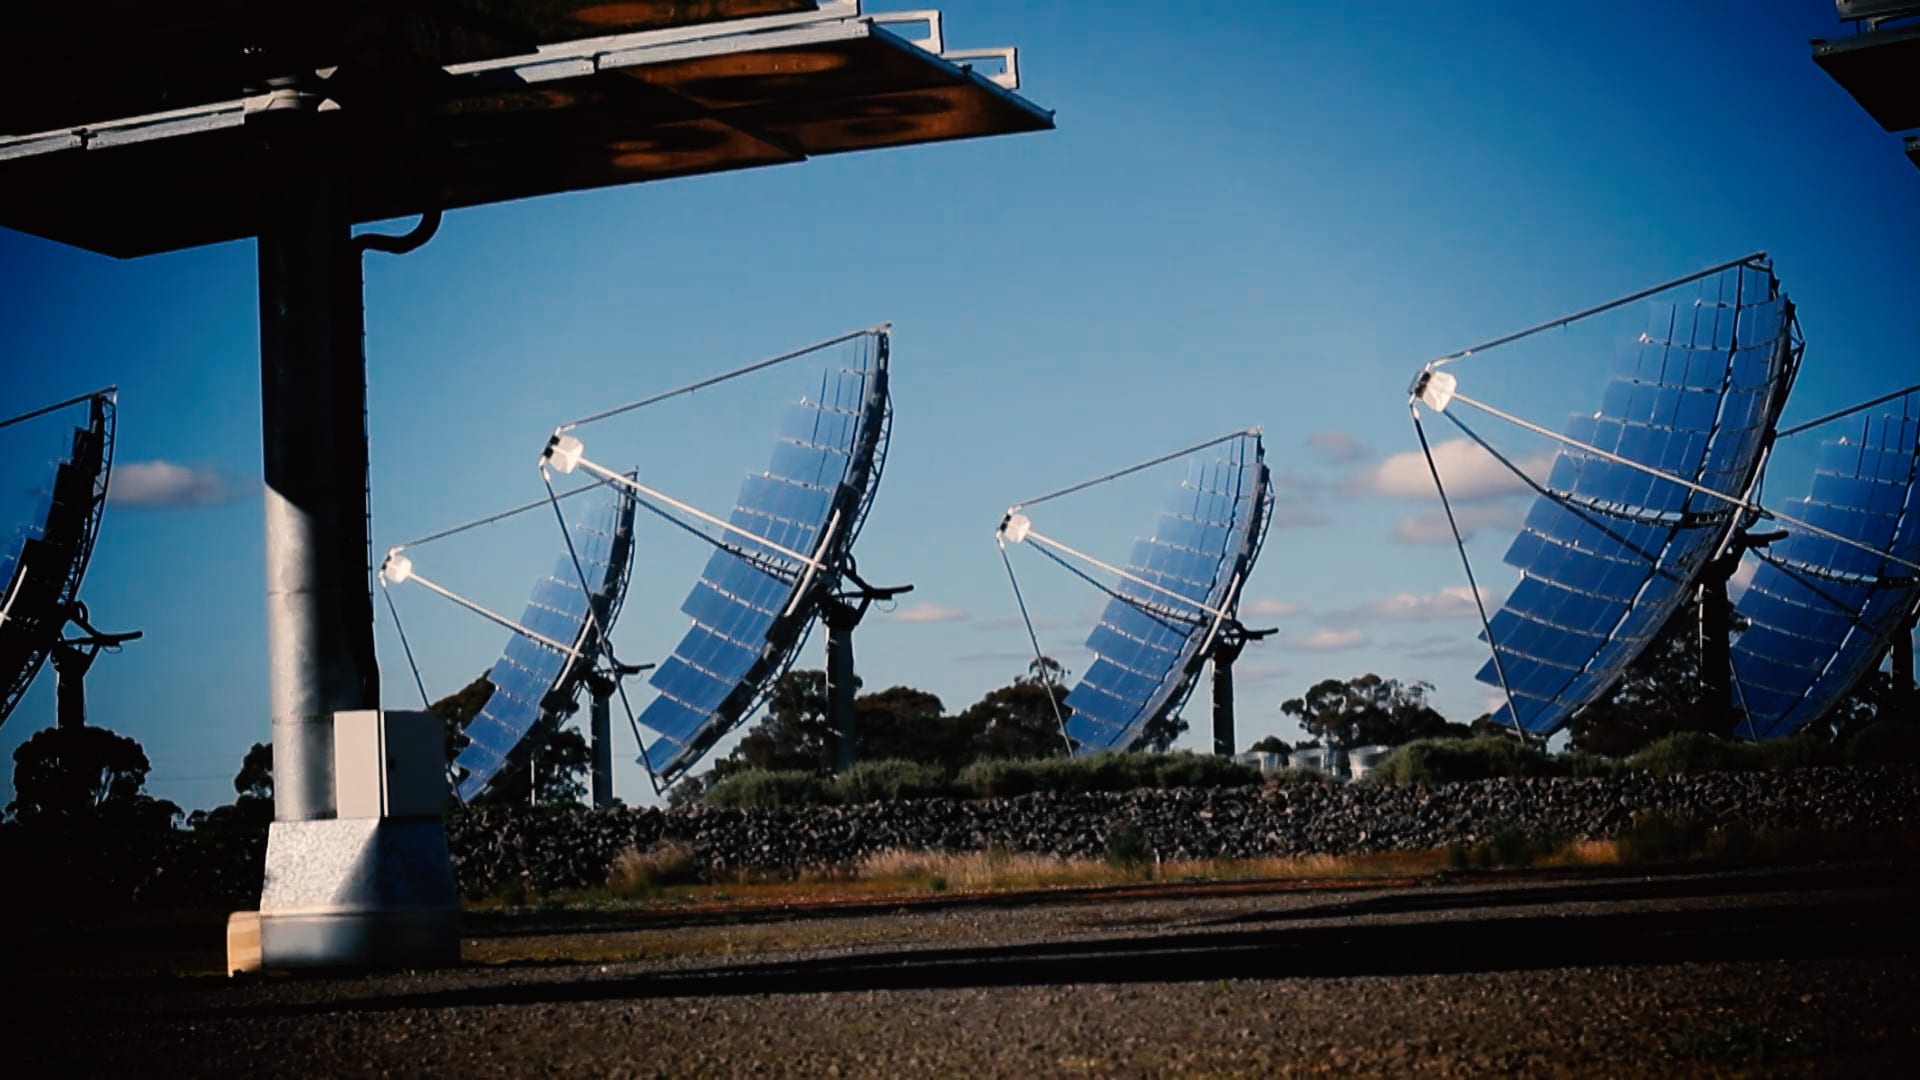
Time-lapse shows change over a period that would be impractical to watch in full. You can compress hours, days, or even months into seconds with a time-lapse, potentially showcasing building projects, construction videos, or complex, time-consuming processes. Here are some tips and tricks for using time-lapse in corporate videos.
Time-lapse vs. Speeded-up Video
There are several ways to shoot a time-lapse video. One way is to shoot video for the duration of your time-lapse, and then use a program like Adobe Premiere Pro to speed it up by hundreds or thousands of per cent. Recording continuously can be convenient for shorter sequences, but it uses storage and power throughout. Another approach is to capture still photographs at set intervals with a DSLR or mirrorless camera. Depending on the camera and settings, stills can offer:
- Resolution for cropping and reframing
- RAW files for colour and exposure adjustments
- Longer exposures for motion blur
Stills may provide room to crop, pan or reframe in the edit, depending on their resolution and the final video size. RAW capture also gives you more scope to adjust colour and exposure, though it cannot recover detail that was not recorded. Choose the exposure and interval together to suit the movement you want to show. By opening the shutter for a slightly longer time, you can add motion blur to your subjects. Test the shutter speed and interval before the full recording to check that important activity remains visible. 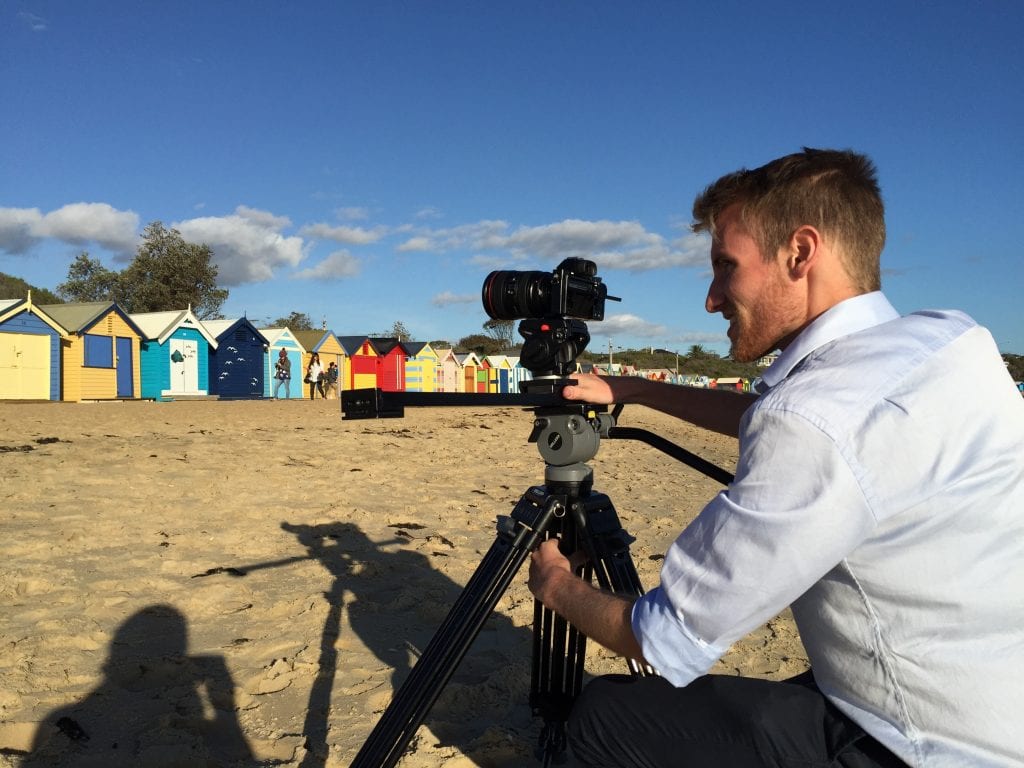
Time-lapse equipment
For an interval-based time-lapse, plan for:
- Camera
- Tripod
- A built-in interval function or a compatible external intervalometer
An intervalometer triggers photographs at regular intervals. Some cameras, including the Sony A7S III, have a built-in interval function. Also plan for power, storage, a secure camera position and weather protection if filming outside. For a long project, agree on access and who will check the camera.
Post Production
The number of photographs and playback frame rate determine the initial running time. For example, 250 photographs played at 25 frames per second make a ten-second sequence. Choose the shooting interval with the total recording period and desired running time in mind.
We have used the Sony A7S III for this work. In Premiere, import consecutively numbered images as an image sequence and check its frame rate. Review the result for flicker, unwanted gaps and changes in exposure before adjusting colour and pacing. If you are looking to capture a time-lapse for your next project, get in touch with Dream Engine today.
Ryan Spanger is the founder and managing director of Dream Engine, a Melbourne video production company established in 2002. Over the past two decades, he’s produced hundreds of videos for businesses, government departments, universities and healthcare organisations across Australia. Ryan specialises in helping organisations explain complex ideas through clear, engaging video content, with particular experience in corporate communications, training and education.