Green Screen for video production
Let’s talk Green Screen…
Green Screen is one of the most versatile filming tools there is. Find out how you can use Green Screen in your next video.
What is Green Screen?
Green Screen, as its name suggests, is a green (sometimes blue) screen used during filming a video or film. This green background is then removed, or made transparent during post production editing. The background can then be replaced with anything. One of the most common uses is the weather segment of the news. Other computer generated backgrounds could be a real location somewhere in the world, it could be graphs and statics, or motion graphics which the actor can interact with. This film tool is very versatile and could be a great asset for your next video.
Terminology:
- Chroma Key – The layering of two images using colour hues
- Keying – The process of removing the green screen background during post production
- Spill – Light reflected off the green screen on a subject
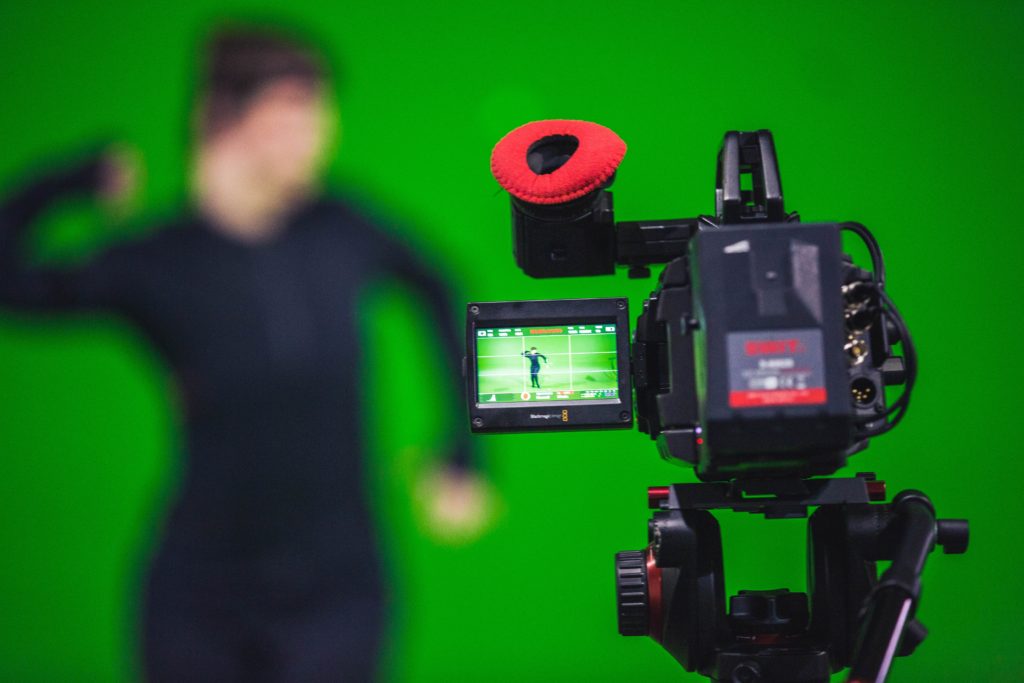
Shooting
It’s important to get the filming done right. The saying “fix it in post” isn’t something to go by in this case. Do your best to get everything looking good during production to reduce the amount of time spent editing. Film use a 10 bit rate. This means you will be filming in a high resolution and will have more information to work with when editing. Also make sure your subjects aren’t positioned too close to the screen. This can cause spill and will make things tricky when editing. Spill can sometimes be fixed by using masks, but it is better to get it right during production.
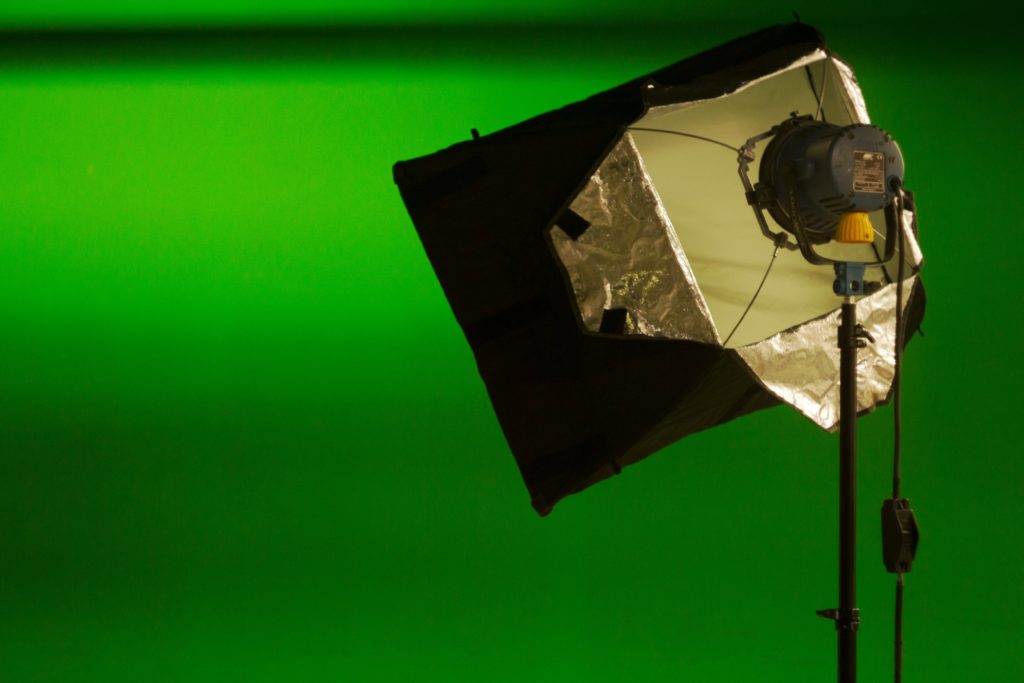
Lighting Green Screen
Lighting is the most important step throughout this process. The goal is to get the screen as evenly lit as possible. Use one set of lights for the screen and a separate set for lighting your talent. Having this separation between the two will help prevent spill. Also, make sure that if you are working with a fabric screen, there are no creases. Creases or shadows on the screen will make keying more difficult later on,
Editing
So, you’ve done your shoot and have your footage ready to go. Now it’s time to edit and start keying the background. Depending on your video you could replace it with data and statics, with a real place or location, anything you like. It is important when creating your background that you make it relevant to your video. It should be visually interesting and provide some context to what the video is about. Motion graphics work really well with green screen. Information can be shown to the audience to help them understand what is being discussed. Talent can interact with the graphics to make the video more engaging.
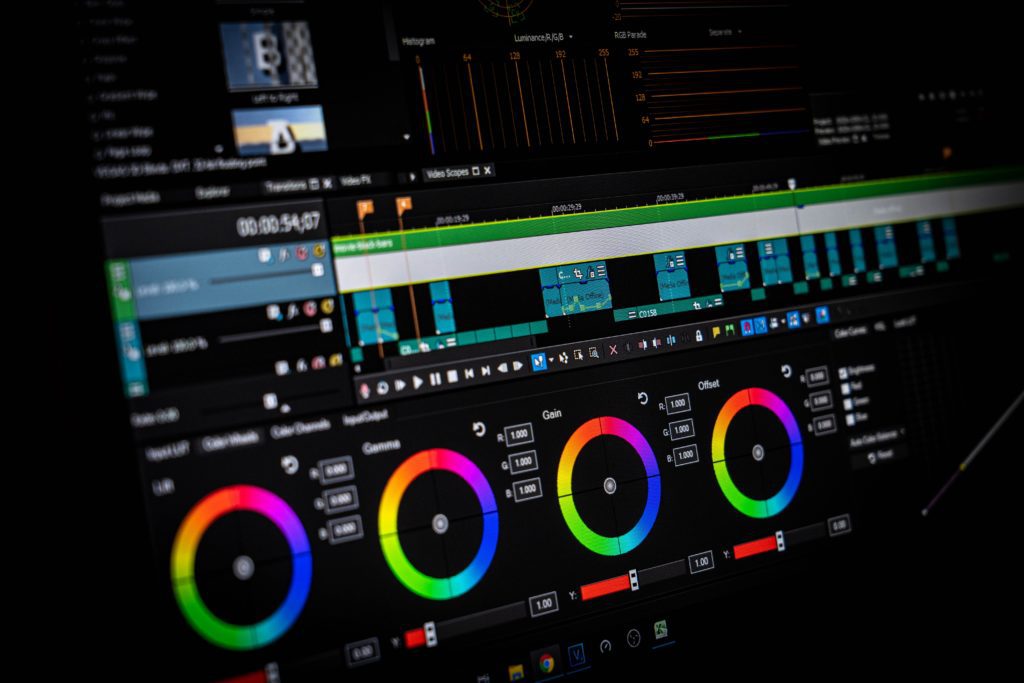
Editing Software
There are many different editing softwares which can edit green screen. DaVinci Resolve is arguably the most common. It’s a free video editor and uses a node-based workflow. Other editing softwares include Adobe After Effects, Adobe Premiere Pro, Final Cut Pro X, and HitFilm. All of these programs work in a similar way, but it is worth doing a bit of research to figure out which program would be best for you and your project.
Where things go wrong
Often where people go wrong with green screen is they create a background which doesn’t add anything to the video. They remove the screen and replace it with a plain backdrop. This will often make the video feel artificial and fake. Viewers want to get a sense for where the person on camera is, or at least know that the environment is relevant. Think about how you could incorporate motion graphics and interesting visual elements. By taking advantage of what’s possible with green screen your video will be more engaging and look professional.
Next Steps
Green Screen is a great tool in filmmaking to make a video more engaging for views. Keep reading for information about Motion Graphics. And to return to the main menu, click here.
![]()