Voiceover Recording for video production
Voiceovers for your next video…
Voiceover recordings are a great way to get information about your business to customers. Find out how to use a recording in your next video.
What is a Voiceover?
There are two types of voiceovers: The first is audio of a person speaking during a video, but they aren’t seen on camera. Often, this kind of recording is used to narrate a video or to provide context for what the video is about. This is the most common type of voiceover, and the one we will explore in this post. The second type of voiceover is when you have filmed an interview and, while the person is speaking, cut to b-roll footage. This is a great way to show the audience what the person is talking about as they explain it.
When to use one
Voiceovers can be used at any stage in a video. The most common time to use them is at the start and end of your story. Using a recording at the beginning gives the audience all the background information they will need to understand what the film is about. This information could be about your business, what you do, what services you provide, or even what challenges your brand is facing. Then using narration again at the end is a great way to wrap up your video. It can be used to sum up the key ideas from the video. How did your business overcome the challenges you were facing? What exciting new products or services are now on offer? Voiceovers are a useful tool to provide customers with information about your business.
How to record a voiceover
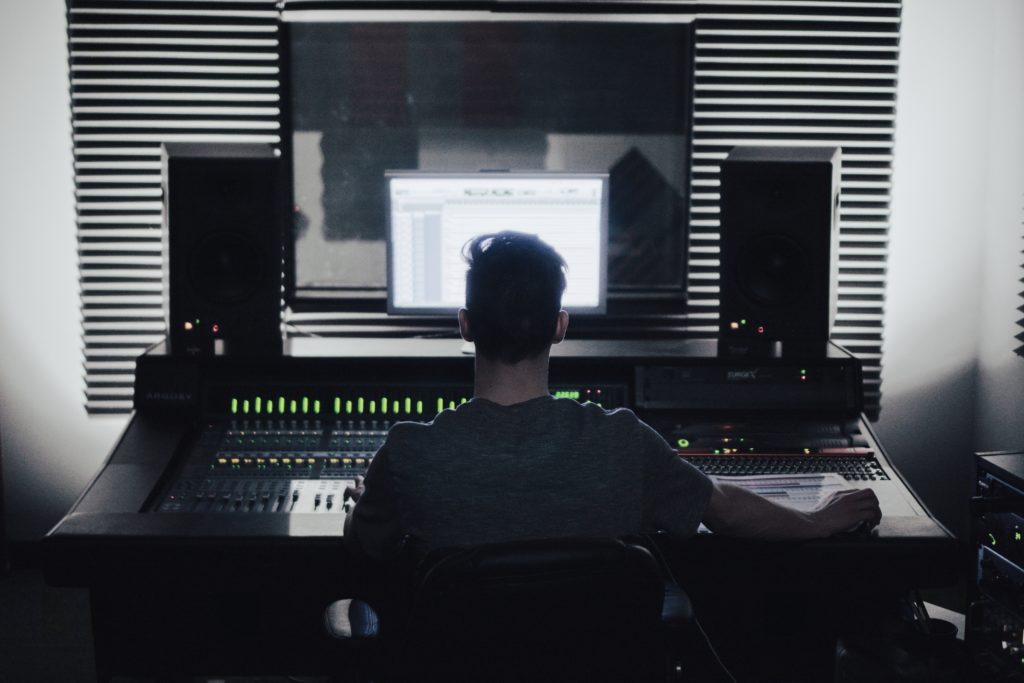
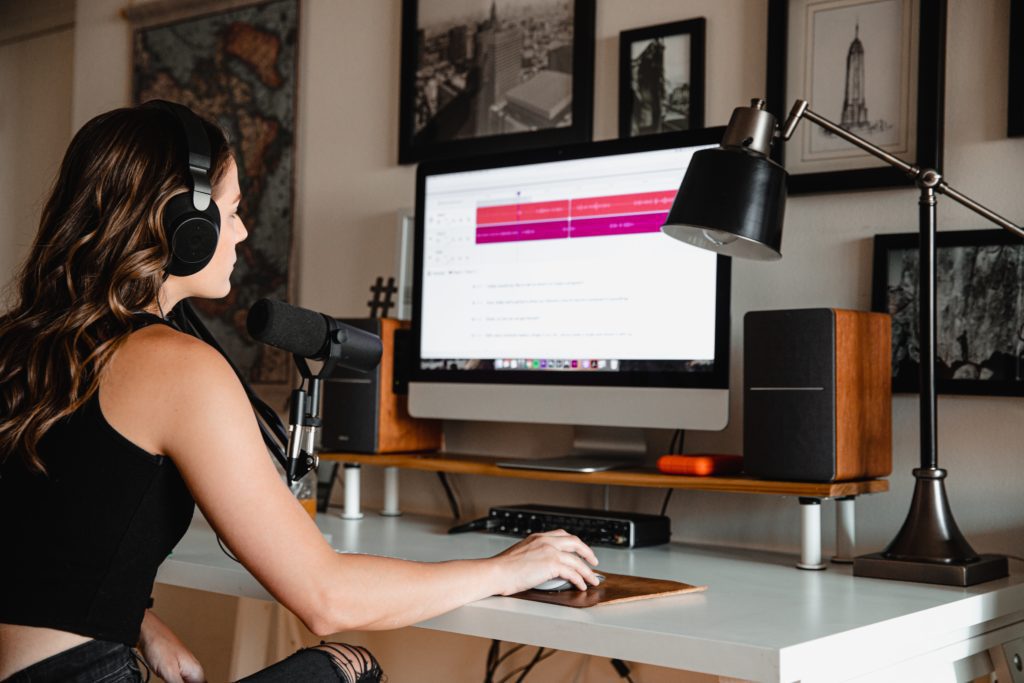
When recording audio for your video, ideally, you want to work in a sound studio, but not everyone has access to one. Luckily, there are ways to get clean, high-quality audio no matter your location. First, decide where you will work. It needs to be a quiet space. Try standing in the room and pay attention to any noises you can hear. Some things will be easy to notice, like street noise or traffic. Other noises might be harder to hear, such as those from heating vents or air conditioning ufnits. Do your best to reduce these noises. If you notice some echo, try covering hard surfaces like tiles and hardwood floors with soft materials like blankets. This will reduce the echo. Next, set yourself up with a good-quality microphone and get ready to record. Be sure to do numerous takes to familiarise yourself with the script first, and then you can focus on delivery.
For more tips on how to record a professional voiceover at home, have a look at this article.
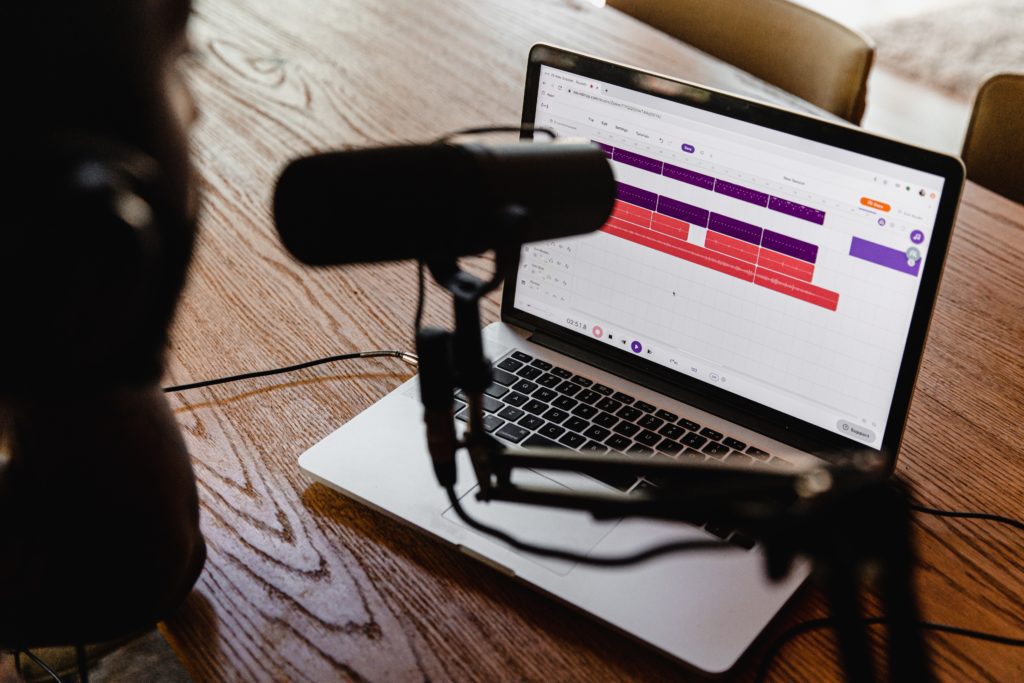
How to edit your recording
Now that you have created your audio, it is time to edit it. There are many different editing software programs available. For this example, we will be looking at Adobe Audition, but this can be applied to any program. Open an audition and import the audio you want to edit. If you have multiple clips, it can be helpful to merge them (highlight the clips, then right-click and select Merge) into a single clip so that the effects you apply are applied to everything. Double-click the clip to display the waveform, and you are now ready to edit. Most sound editors will follow the same process: Equalise, normalise, compress, and normalise. Apply effects to reduce the background noise, such as Capture Noise Print and Noise Reduction. Other effects, such as the Parametric Equaliser, Dynamics, and DeNoiser, will improve the quality of your audio. Once complete, re-sync the sound with your video.
Next Steps
Voiceover recording is an important part of making a video. It communicates information to you customers and gives your video a professional feel. Keep reading for information about Music & SFX. And to return to the main menu, click here.
![]()