A screen capture video combines a recording of your software with narration and visual guidance to show someone how to complete a task. Production usually involves research, scripting, a storyboard, screen recording, editing, voiceover and review.
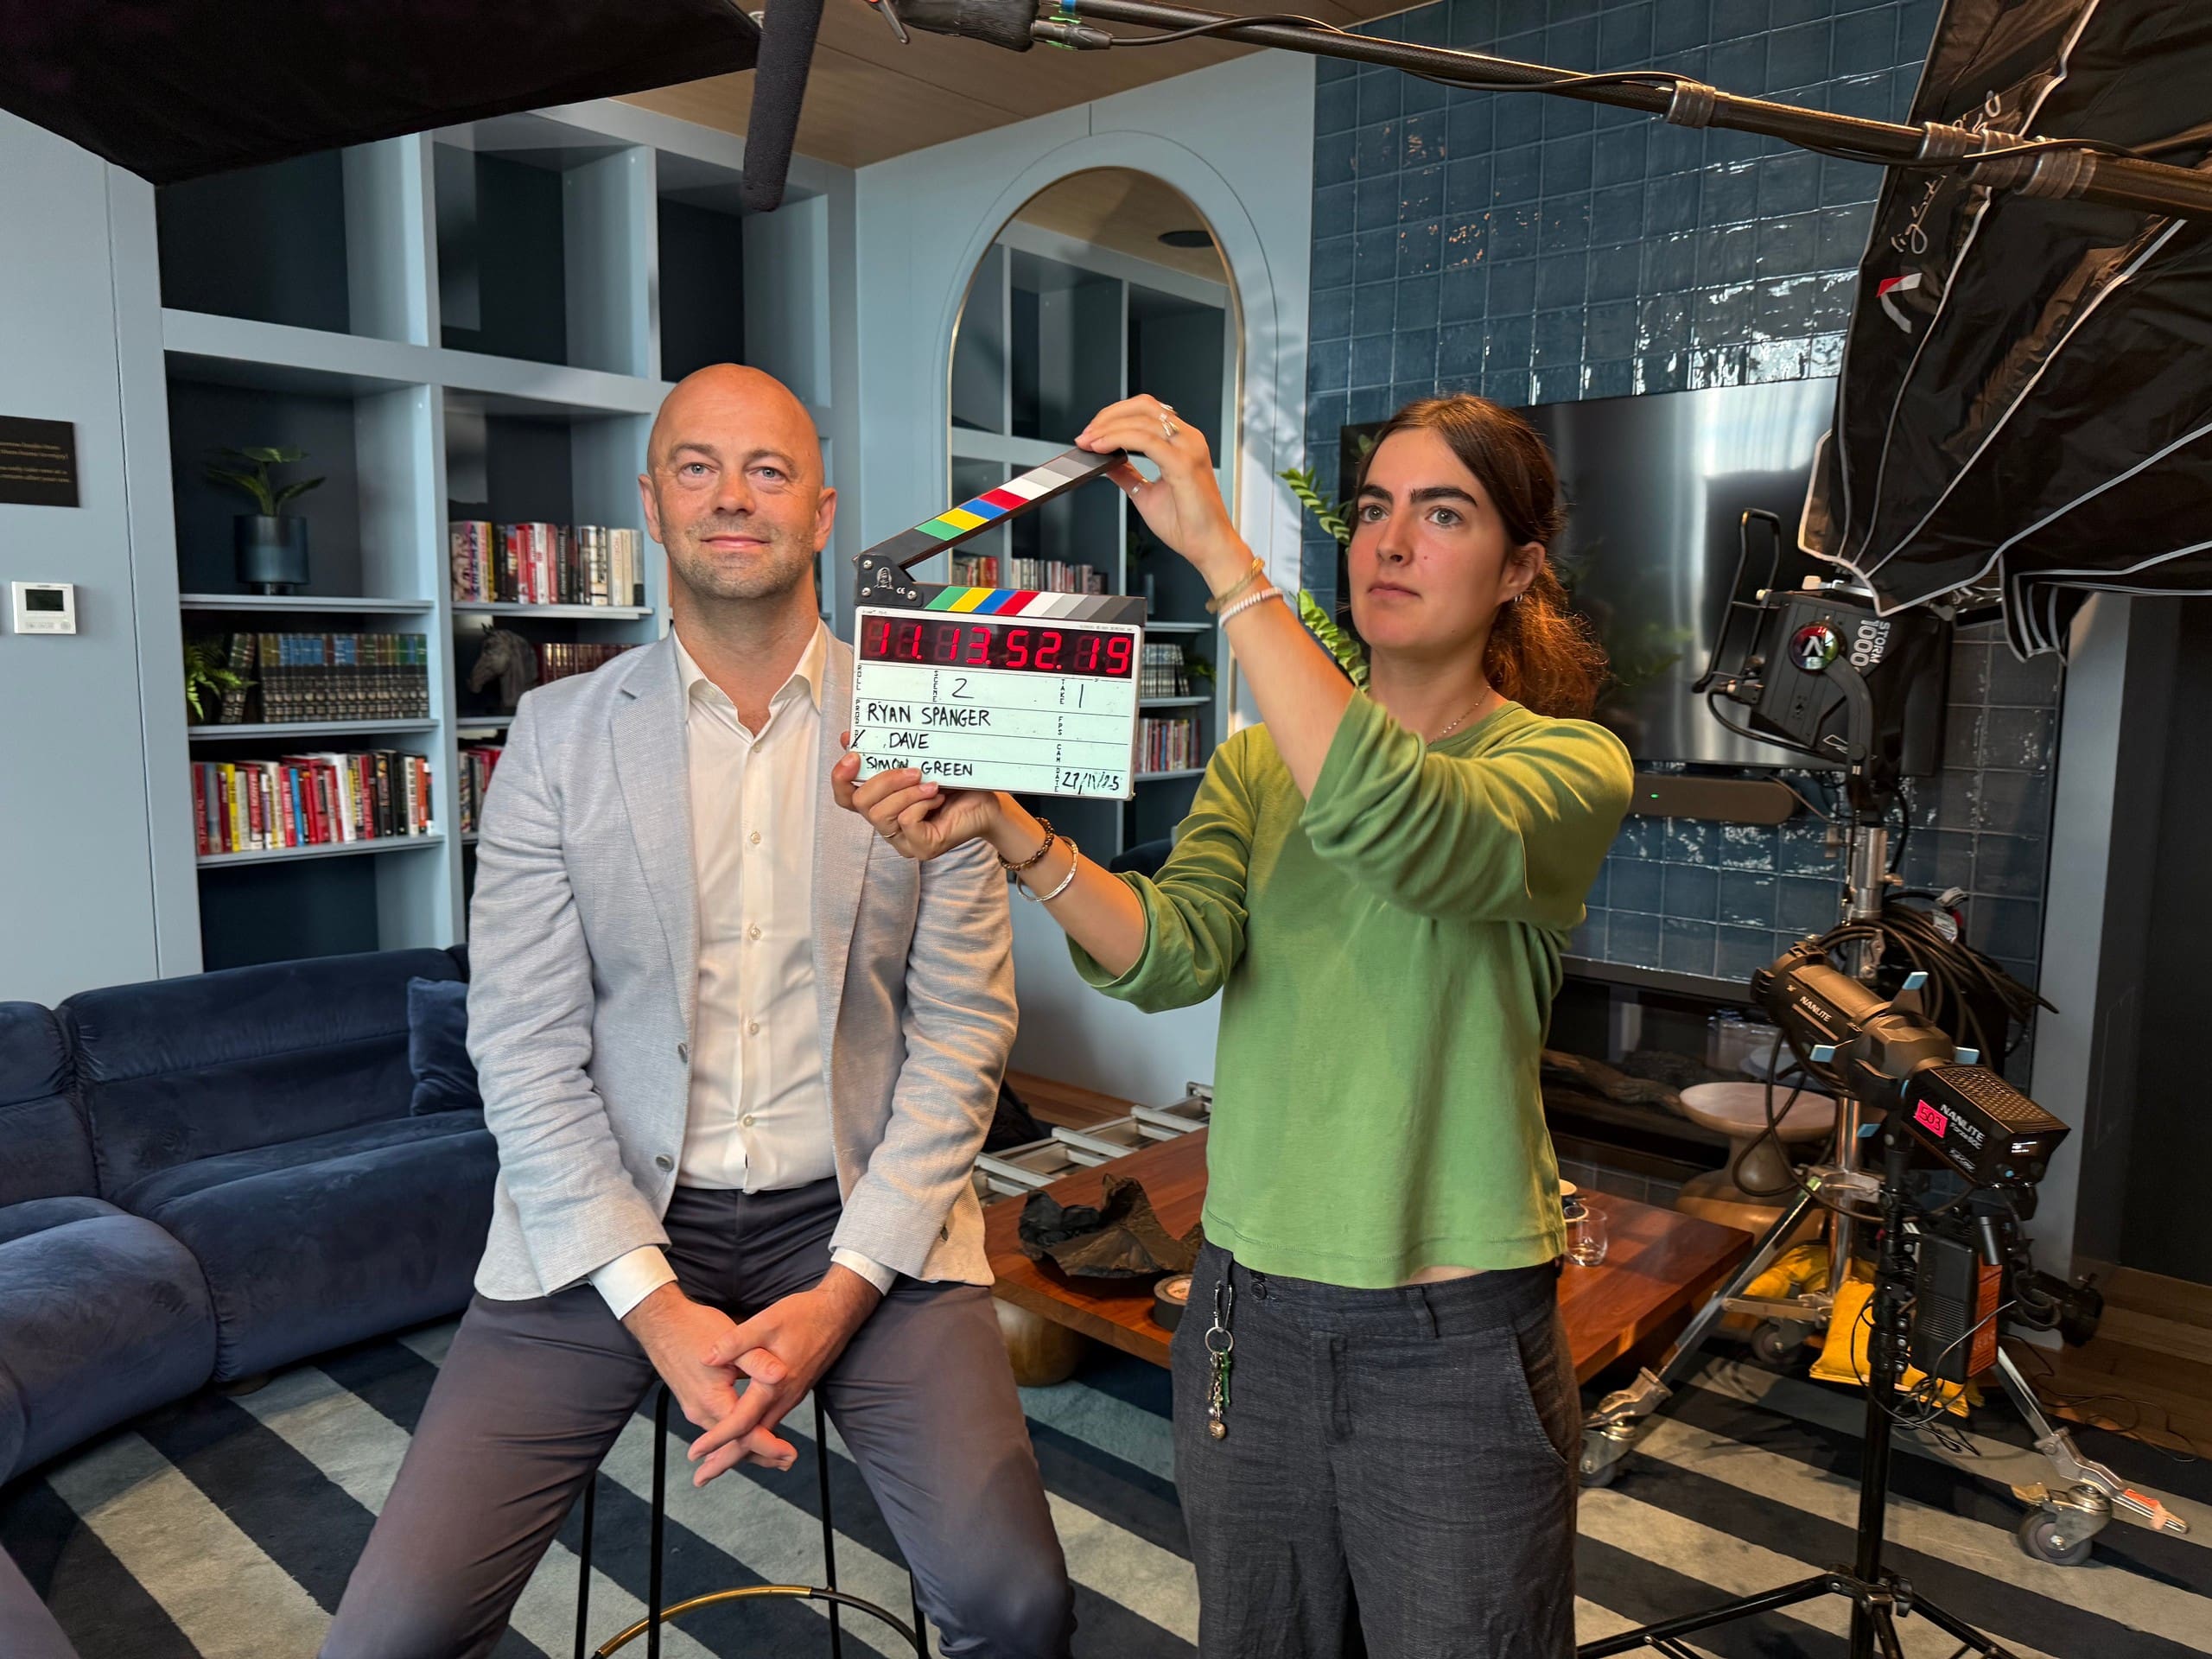
If you’re planning a video for your app, website or online platform, the steps below explain what Dream Engine does and where your team’s input is needed. The guide draws on the production approach of Ryan Spanger, Dream Engine’s founder and managing director.
Start with one task: Decide what the viewer should be able to do after watching. “Submit an application” gives a tutorial a more useful focus than “explain every feature”. A series of shorter task videos may suit a complex system better than one long walkthrough.
1. Research and background information
The first step is getting familiar with your app, your users and the context around the project. A video for a first-time user needs a different starting point from one explaining a new feature to an experienced team.
We’ll look at material that helps us understand the product and what people need from the video. This might include your website, documents, existing videos, screenshots or a demonstration of the workflow.
You do not need a finished brief. Bring what you have, identify someone who knows the software well, and flag any steps users regularly find confusing. Together, we can work out what needs explaining.
2. Script development meeting
Next, we arrange a meeting to agree on the audience, the task and the sequence the video will follow. We discuss where it will be watched, what viewers already know and what a successful completion of the task looks like.
This is also the time to identify the people who need to review the work. A product specialist can check the workflow, while the person responsible for training or communications can check whether the explanation suits the audience.
If the software is about to change, flag that before recording. Agree which version and screens the tutorial should show so the finished video matches what users will see.
3. Voiceover script
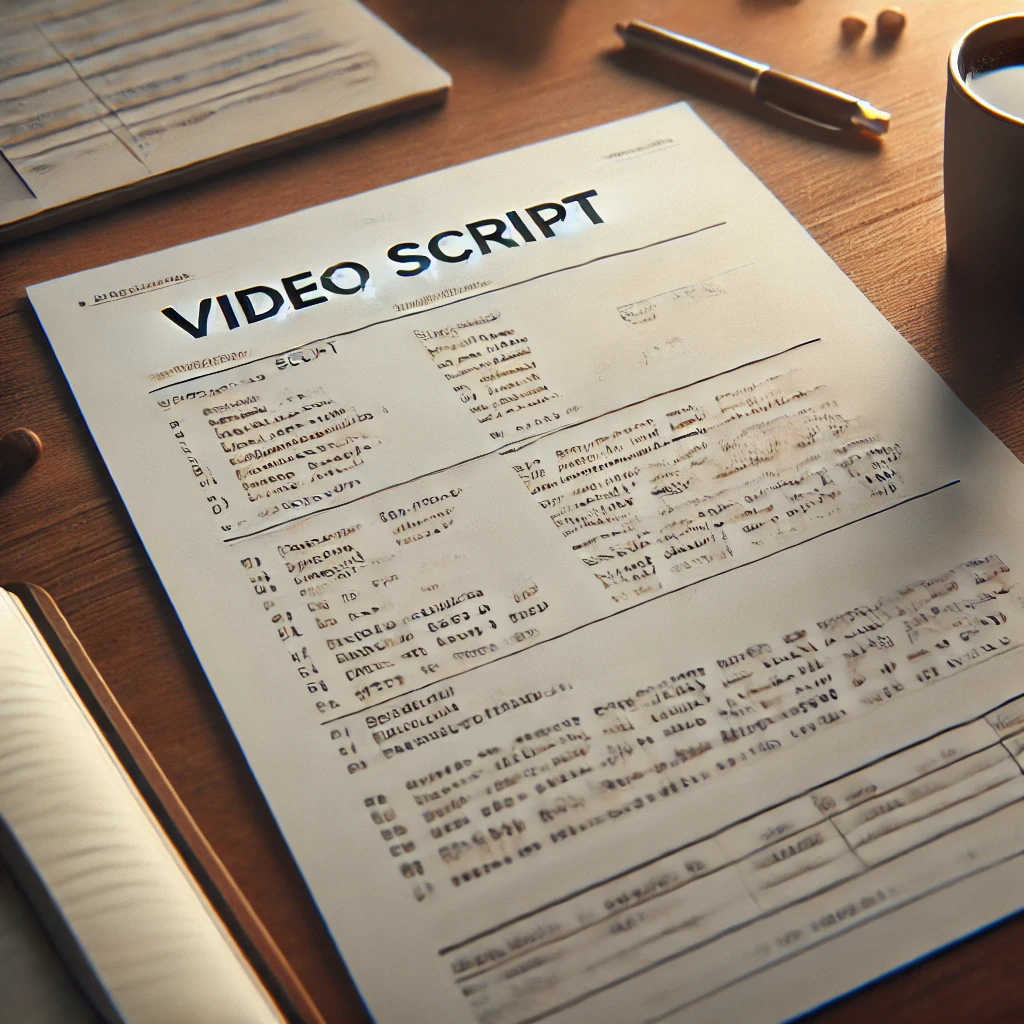
We then write the words that will be spoken in the finished video. The narration explains what to do, names the relevant controls and gives the viewer enough context to understand the next step.
For example, “Select Save to store your changes” is easier to follow than “Click here”. The words should make sense alongside the screen recording, without trying to describe every visible item.
We send the script to you for feedback. Check the terminology, order of steps and any conditions that change the process. Collecting your team’s comments into one response helps resolve conflicting advice before production begins.
4. Storyboard
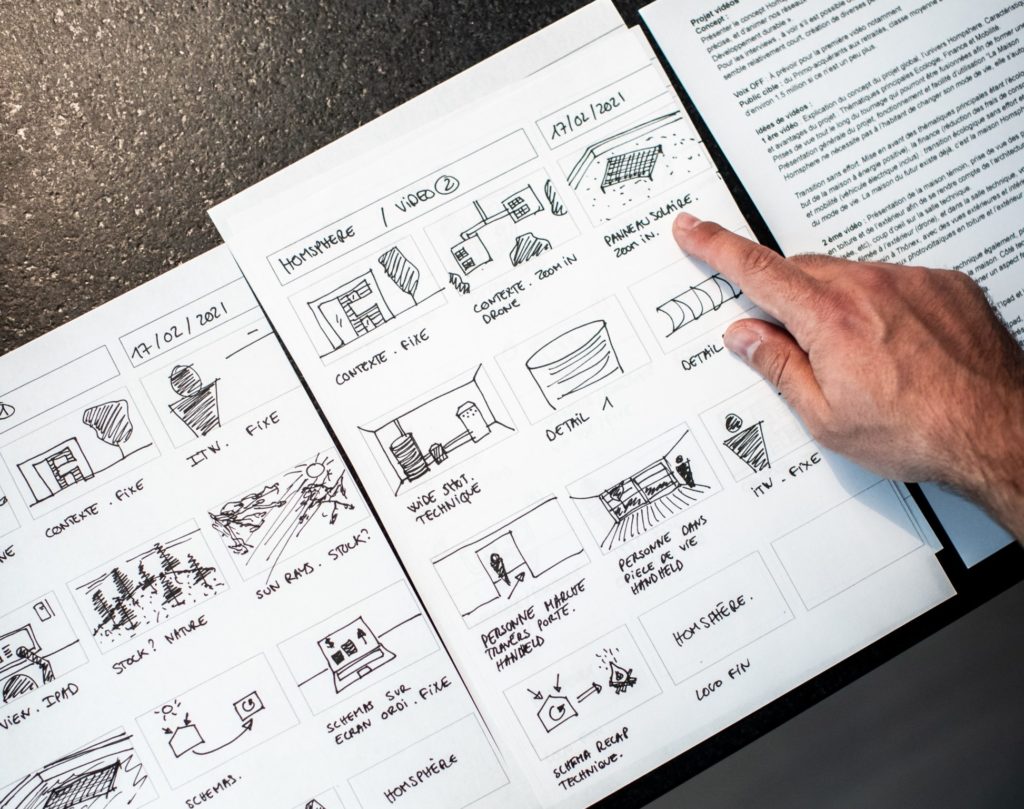
Once the voiceover script is approved, we create the storyboard. It pairs the narration with a description of what the viewer will see: screen actions, text, graphics, zooms and highlights.
The example below shows how a short instruction can be planned. It is an illustrative workflow, rather than an extract from a client project.
| Voiceover | What appears on screen |
|---|---|
| Open Settings, then select Notifications. | Show the menu opening. Move the cursor to Notifications and highlight the selected item. |
| Choose which email updates you want to receive. | Move closer to the available options so their labels remain readable. Show a selection changing. |
| Select Save to store your changes. | Show the Save button being selected, then pause on the confirmation message. |
The storyboard lets you check that the spoken instruction and screen action match before we record. You can review the sequence, suggest changes and confirm that important steps have not been skipped.
5. Screen recording and editing
Once the storyboard is approved, we move into production. We record the screen at a resolution suited to the finished video and the close-up views planned in the storyboard. Higher-resolution capture gives us more room to crop, but text, buttons and cursor movements still need to be readable at the delivery size.
Before screen recording: Prepare a demonstration account with sample data, check that the planned workflow works, and turn off notifications. Close unrelated tabs and remove private information from anything that could appear on screen.
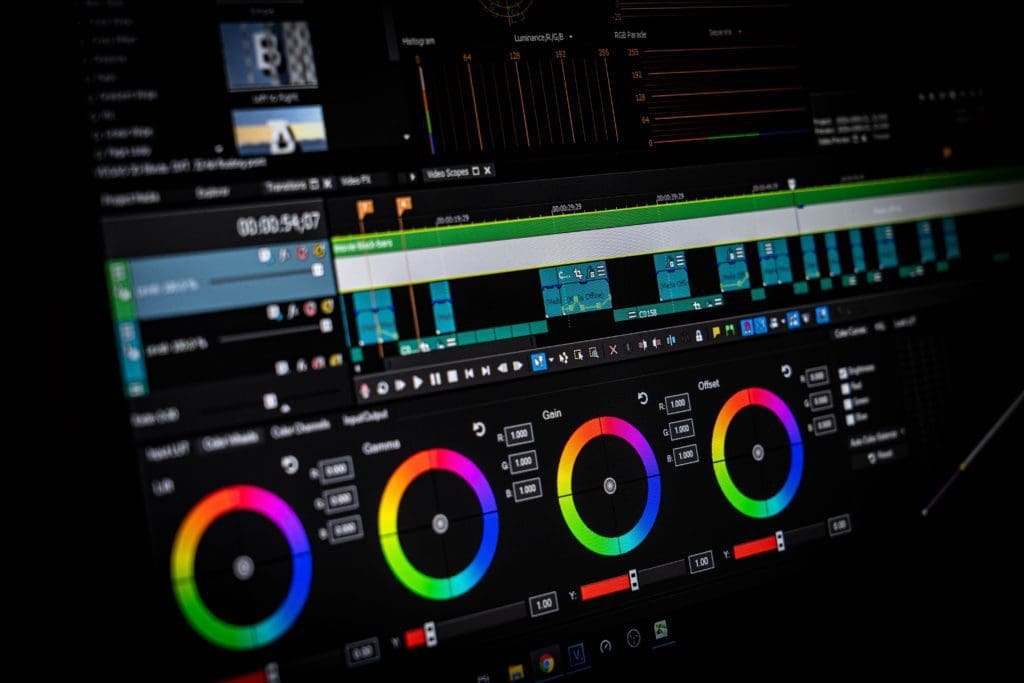
Depending on the project, the edit may include:
- Zooms that make a small control or label easier to see
- Arrows, circles or highlights that direct attention to the current step
- Animation and on-screen text that reinforce an instruction
- Subtle 3D movement where it helps present the interface without making it harder to follow
We usually create the first 30 seconds for you to review before completing the whole video. This establishes the visual style and pacing early. Once you are happy with the approach, we apply it to the rest of the edit.
Leave time for the viewer to recognise what changed after each action. A useful screen recording shows both the click and its result, rather than rushing straight to the next step.
6. Voiceover selection
We recommend a voiceover artist based on your brief and audience, and send you an example so you can confirm that the voice suits the video before recording.
Supply pronunciations for product names, acronyms and specialist terms with your script feedback. Confirming these before the voiceover session helps avoid corrections later.
Plan captions and a transcript alongside the narration. Check that captions match the finished edit, and that the narration explains essential screen actions rather than relying only on a moving cursor or a coloured highlight. W3C’s accessible media guidance explains the options to consider.
7. Review and delivery
When the edit is ready, we send it to you for review. Check it against the software, rather than reviewing the words alone: do the buttons have the right names, does each action produce the expected result, and can a new user follow the sequence?
Provide one set of feedback with time references where possible. The review process and any included revisions should be agreed for your project, along with the final file formats, captions and versions you need.
Before approval, watch the video at the size your audience will use in your help centre, learning platform or website. Check that small interface text stays readable and captions do not obscure an important control. Once approved, we deliver the agreed files.
Plan for updates: Keep a record of the software version shown and nominate someone to review the tutorial when the interface or workflow changes. Separate task videos can make it easier to replace an affected section.
See how the approach works in practice
Our screen capture videos page includes finished examples for Pronto Software, Adslot, Western Sydney University and Deakin University.
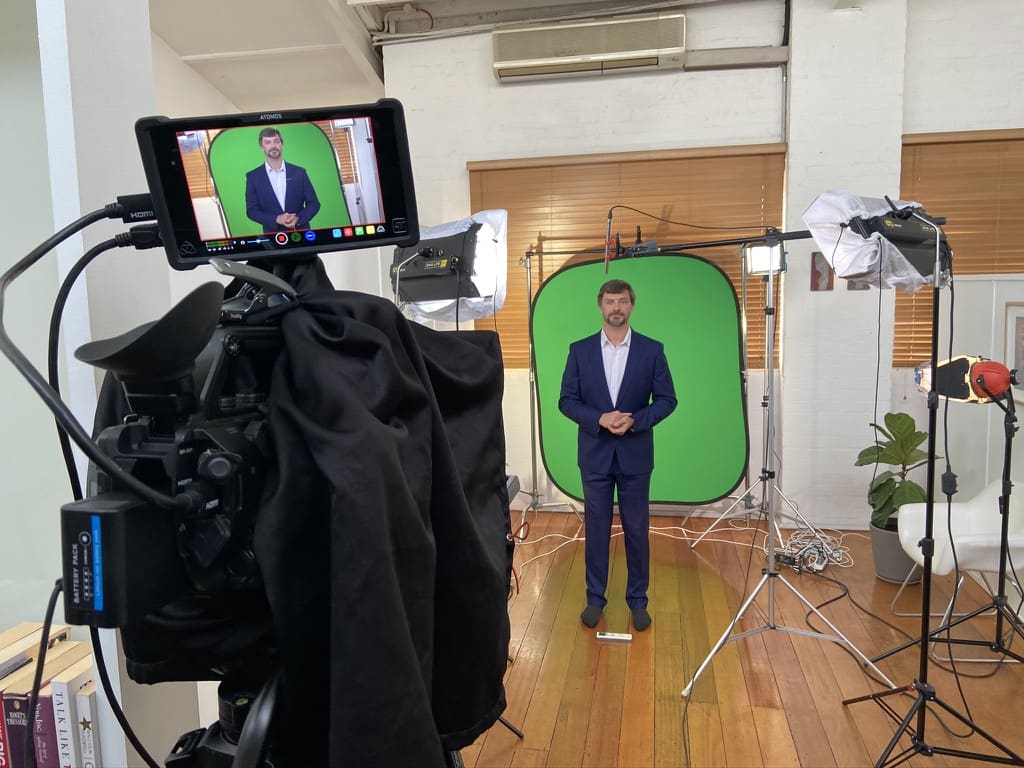
The Pronto work combines presenter footage, screen capture and animation to explain software updates. The Adslot tutorial uses digital zooms, animated movement and on-screen text to guide users through its advertising purchasing system. When watching, consider which approach would help your audience: an introduction to what has changed, or a task they can follow step by step.
Watch an Adslot software tutorial
Watch how the edit moves closer to the controls as each action is demonstrated. This is where the storyboard becomes useful: it plans what the viewer needs to see at each step, while the screen recording shows the action and its result.
Adslot software training video · 2 min 47 sec
A finished example of screen capture and visual guidance working together. The interface shown is from this project; use it to assess the production approach, rather than as current instructions for the software.
Where to start with your screen capture video
Choose a task your users need help with, gather the information you already have and check whether the software is likely to change before recording. Then talk with a production company about your audience, where the video will be used and who can review the workflow. Those decisions provide a useful starting point for the script, storyboard and production plan.
Frequently asked questions
Planning a screen capture production
Do we need to write the script first?
No. You can begin with a task, existing documentation or a demonstration of the software. Dream Engine develops the script with you, and your team checks the workflow and terminology before production.
Can we record the screen ourselves?
Yes, that can be an option if your team has access to the system. Agree the recording settings, screen size, sample data and planned actions with the production team before capturing footage, so it suits the storyboard and final edit.
What affects the cost and turnaround?
The number of tasks, length of the videos, amount of animation, voiceover requirements and delivery versions all affect the scope. Access to the software and time for stakeholder feedback also influence the schedule. Agree these details before production so the quote and milestones reflect the work required.
What happens if the software changes?
Review the video when the interface or workflow changes. Some updates may need a replacement screen recording; others may also affect the narration or sequence. Planning separate task videos and recording the software version makes it easier to identify what needs updating.
Ryan Spanger is the founder and managing director of Dream Engine, a Melbourne video production company established in 2002. Over the past two decades, he’s produced hundreds of videos for businesses, government departments, universities and healthcare organisations across Australia. Ryan specialises in helping organisations explain complex ideas through clear, engaging video content, with particular experience in corporate communications, training and education.