In this guide
Choose a training video format around what people need to see and do. Demonstrate physical tasks, use a presenter to explain the topic, and use animation for things you can’t show clearly on camera. Decide on the format before writing the script, because it affects filming, graphics, budget and future updates.
Our training video projects often combine presenters, demonstrations, graphics and animation. This guide explains when each is useful, when to use screen recordings and how to choose a format for what you’re teaching.
We’ll look at two projects. The Office of Public Prosecutions Victoria used a presenter inside an animated world to explain challenging conversations. Hoover and The Good Guys used a presenter, product imagery and motion graphics in a series for sales staff.
Start with what people need to learn
Before choosing a presenter, demonstration or animation, decide what people need to do differently after watching. Do they need to perform a physical task, use software, understand a difficult idea, compare product features or handle a sensitive conversation?
We discuss this in what 20 years of producing training videos has taught us, including how to keep each lesson focused and check the information before filming.
- If people need to understand the reason for a policy or change, a presenter can explain what’s changing and how it affects their work.
- If they need to perform a task, show the task being done.
- If they need to understand an abstract, private or hard-to-film situation, animation can make it visible.
- If they need to remember steps, numbers or comparisons, graphics can direct attention to the important information.
A single training video may use more than one of these methods. Use each one only where it helps explain the lesson.
When to use each format
Use a presenter when people need a guide
Use a presenter when the audience needs context from a real person. They can explain the reason for a policy, introduce the topic, talk through a difficult situation or link sections of the lesson.
The presenter doesn’t need to deliver every detail directly to camera. Long pieces to camera can become heavy going. Use the presenter for introductions, transitions and explanations, then cut to demonstrations, examples or graphics for the detail.

Choose someone who can explain the topic well. A subject-matter expert knows the details and common questions. An employee can draw on everyday workplace experience. A professional presenter can deliver a prepared script, with your experts checking it for accuracy.
Use a demonstration to show a task
A demonstration lets people watch the movements and sequence they’ll need to repeat.
Demonstration is particularly useful for equipment operation, safety procedures, clinical techniques, installation, cleaning and maintenance. The camera can show hand position, the correct order, scale and how each action follows the last. Close-ups can reveal details that are easy to miss in a live group session.
If you’re starting with an existing procedure, our guide to turning business procedures into training videos covers mapping the real process, breaking it into steps and reviewing it with subject-matter experts before filming.

Plan camera angles around the details people need to see. Allow time for each step, show how to avoid common mistakes, and pause where viewers need a closer look. Voiceover and graphics can help, but they shouldn’t cover or distract from the action.
Use screen recordings to explain software
For software training, record the screen so people can follow the steps in the app, website or system they’ll use. Show where to click, what to enter and what should happen next.
Our screen-capture video guide covers preparing a software demonstration and matching the narration to each action.
Keep menus and text readable. Use zooms or highlights to draw attention to the part of the screen you’re explaining, with the voiceover timed to the action. Our screen-capture production guide explains how we plan and produce these videos.
Use animation for subjects that are hard to film
Use animation when the subject can’t be shown clearly with a camera. It can reveal an internal process, break down a complex system, move between locations or show a situation that’s too private to film with real people.
It can also show sensitive behaviour without staging a literal re-enactment, which may feel confronting or distracting. We used it this way for the Office of Public Prosecutions Victoria.
For tasks involving a real object, film enough detail to show its size, controls and handling. Animation can then explain parts you can’t see, such as how the mechanism works inside.
Use graphics to direct attention
Use on-screen text, labels, diagrams and simple motion graphics for names, numbers, steps and comparisons. They should point people to the details they need to notice or remember.
Keep graphics short and time them to the explanation. If a paragraph appears while the presenter says something different, people have to read and listen to separate messages at once. A short label, highlighted feature or three-step sequence is easier to follow.
When to combine formats
Work through the lesson section by section. A presenter might introduce a procedure, a demonstration show the steps, and graphics label the controls.
The OPP Victoria and Hoover projects show two ways to combine these elements.
OPP Victoria: a presenter inside an animated world
OPP Victoria needed eight modules about managing challenging conversations. The subjects included managing grief, managing anger, delivering bad news and communicating across language barriers. Actors recreating those situations could have made the scenes feel too specific or distracting.
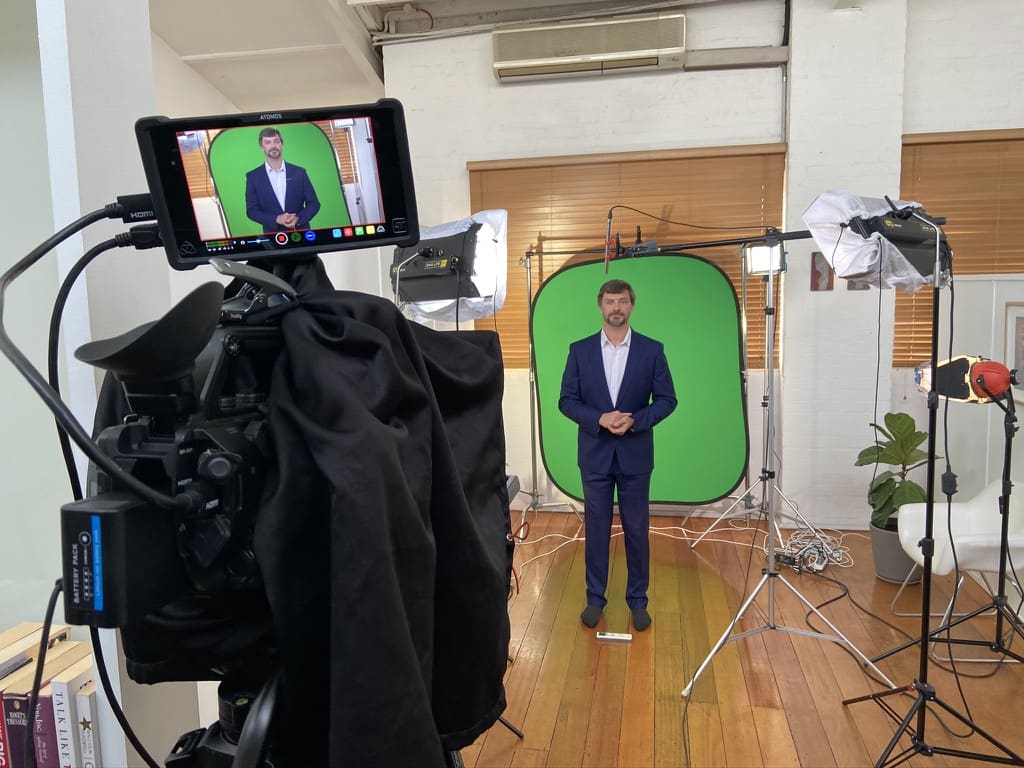
Dream Engine filmed the presenter against a green screen, then placed him within a hand-drawn animated setting. The same presenter guided viewers through all eight modules. Animation showed reactions and behaviour without putting real people into sensitive scenes, while motion graphics highlighted the practical points.
Hoover and The Good Guys: presenter, product and graphics
The Good Guys needed a series to help sales staff understand Hoover products and explain their features to customers. The example below covers a washing machine.
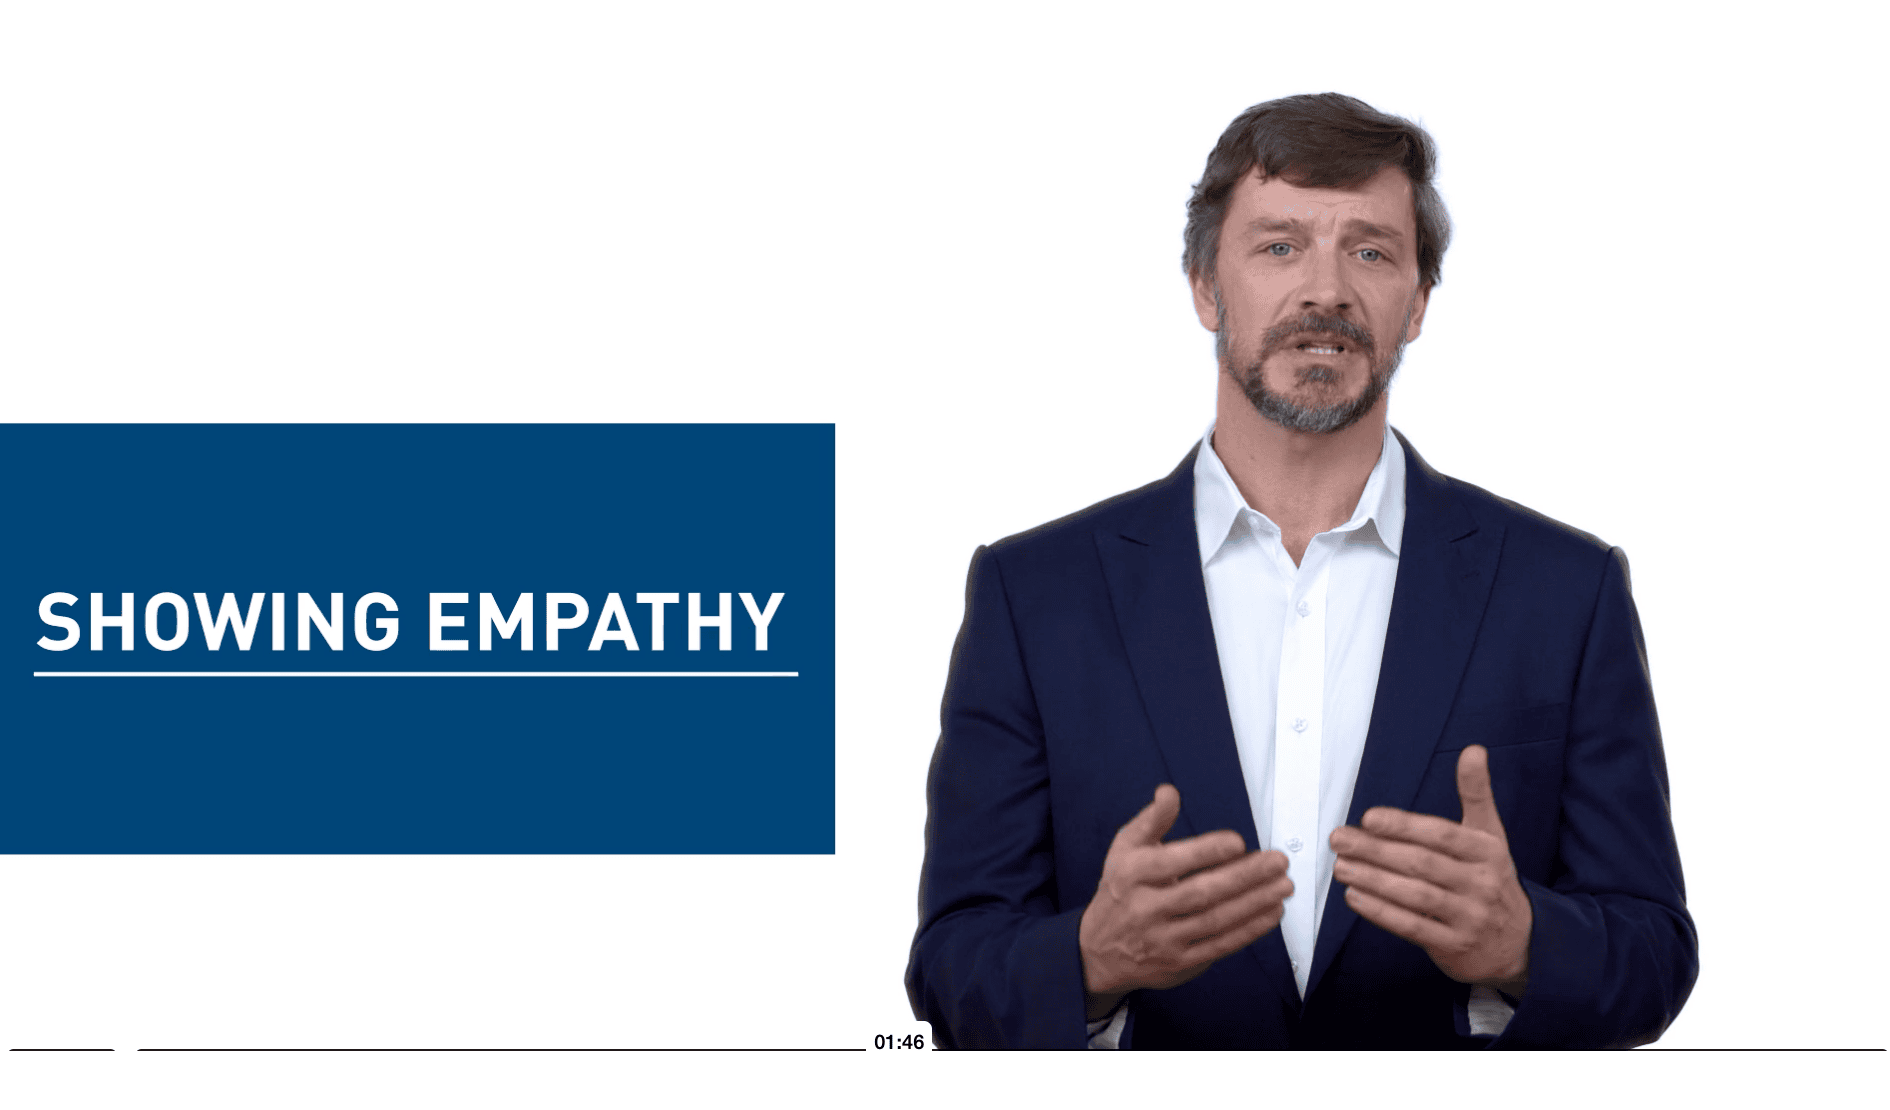
We filmed the presenter against a green screen, then combined his explanation with product imagery and motion graphics. On-screen text highlighted product names and benefits as he introduced them.
The Hoover case study covers presenter casting, studio filming and how we kept the approach consistent across the series.
Compare training video formats
Use this table to match the subject of your lesson with a suitable format.
| The learner needs to… | Start with… | Add when useful… |
|---|---|---|
| Understand the reason for a policy or change | Presenter or subject-matter expert | Examples, diagrams and short text highlights |
| Perform a physical task correctly | Real demonstration | Close-ups, voiceover, labels and safety callouts |
| Complete a task in software or an online system | Screen recording | Voiceover, zooms and highlights |
| Recognise or respond to a sensitive situation | Presenter, scenario or animation | Decision points and suggested phrases on screen |
| Compare product features and benefits | Presenter plus real product footage | Specifications, labels and comparison graphics |
| Understand an invisible process or system | Animation or diagram | Voiceover and a presenter for context |
Five questions to answer before production
1. What should the learner do, understand or remember?
Write down what someone should be able to do after watching. If your list covers several unrelated tasks, consider a short series so people can find the lesson they need.
2. What must the audience actually see?
List the actions, expressions, controls and details people must see. Use that list to build the shot list, storyboard or animation plan.
3. Is filming the real situation safe, practical and appropriate?
Access, privacy, safety and cost can affect the choice. A real demonstration may be essential for one section, while animation or a controlled recreation may explain another more clearly.
4. Who should present the information?
Choose a leader, expert, employee or professional presenter based on who the audience will trust and learn from. Give them the sections they’re best placed to explain.
5. Will the content need to be updated or expanded?
Identify details that are likely to change, such as product specifications, procedures or policies. Where possible, put those details in separate shots or graphics so you can update them without refilming a whole presentation.
You’ll find more planning advice in our training video best-practice guide.
Plan for a training series
For a series, decide which elements will repeat across every module. These might include the same presenter, opening structure, graphic labels, animation style or demonstration setup.
A familiar structure helps viewers find information, and reusable graphics can save production time. OPP Victoria used the same presenter and overall look across eight communication topics. The Hoover series also used one presenter and a shared studio setup, with product information changing between modules.
Whichever format you choose, plan captions and transcripts before delivery. Keep text clear of important demonstrations and check it on the smallest screen staff will use.
Turn your ideas into a filming plan
For each section of the lesson, note what people need to see and who can explain it. Use those notes to plan the script, shots and graphics.
Our professional training video production service covers planning, scripting, filming and editing for one video or a series.
Browse our training video guides and project examples for related planning advice.
Ryan Spanger is the founder and managing director of Dream Engine, a Melbourne video production company established in 2002. Over the past two decades, he’s produced hundreds of videos for businesses, government departments, universities and healthcare organisations across Australia. Ryan specialises in helping organisations explain complex ideas through clear, engaging video content, with particular experience in corporate communications, training and education.